OneTint Updates - USB ONLY
- 06 Jun 2025
- 1 Minute to read
- Print
- DarkLight
- PDF
OneTint Updates - USB ONLY
- Updated on 06 Jun 2025
- 1 Minute to read
- Print
- DarkLight
- PDF
Article summary
Did you find this summary helpful?
Thank you for your feedback!
Performing a OneTint Data Only Update - For US and Canada
These following steps are to be completed when an update USB is received in the mail.
Inset the USB drive into a USB port on the computer and
closetheOneTintprogram before going to the next step.Open
File Explorerbyright clickingon theWindow Startbutton and selectFile Explorer.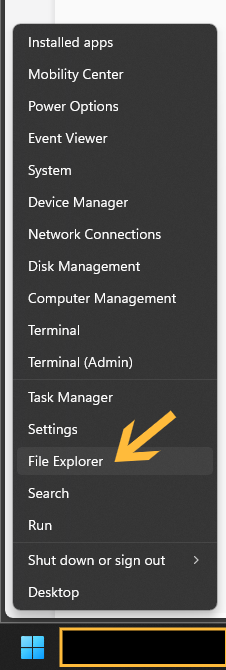
ClickonThis PCin the hand-left column.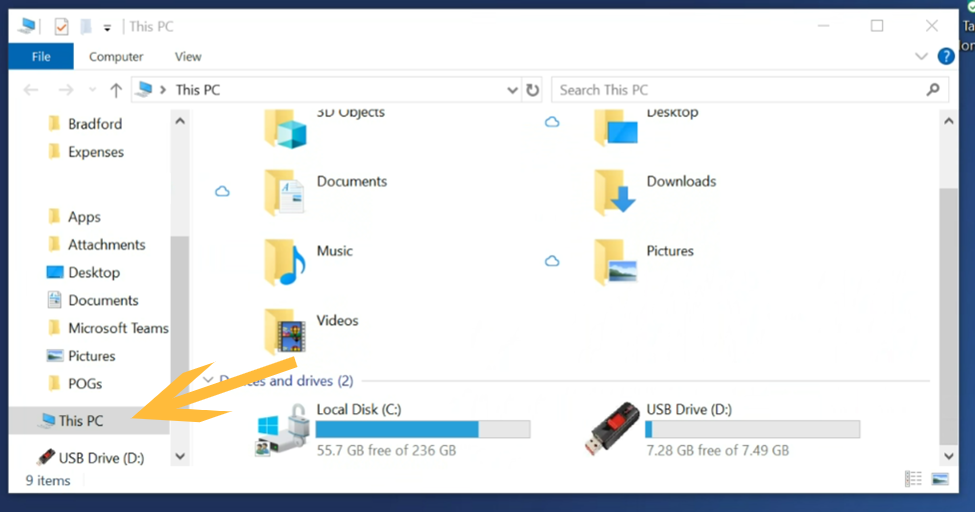
On the right-hand column, locate the device labeled
USB Driveanddouble clickon the device.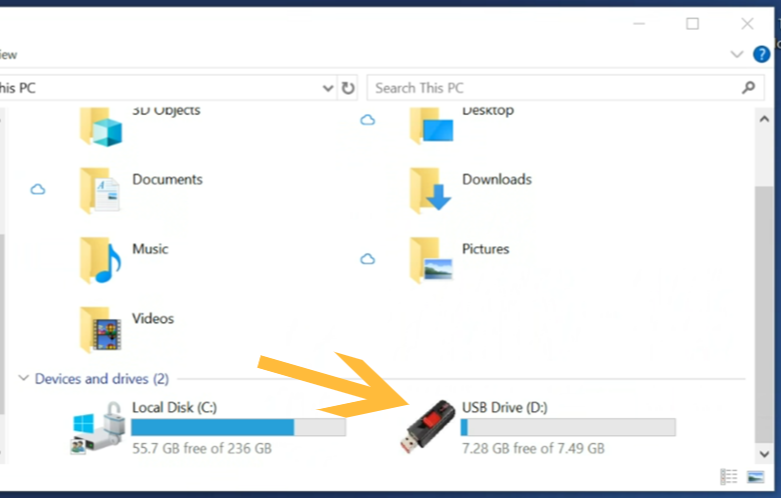
Locate the file labeled
FlashDriveLoadmake sure that the file is theApplication, not theICO File.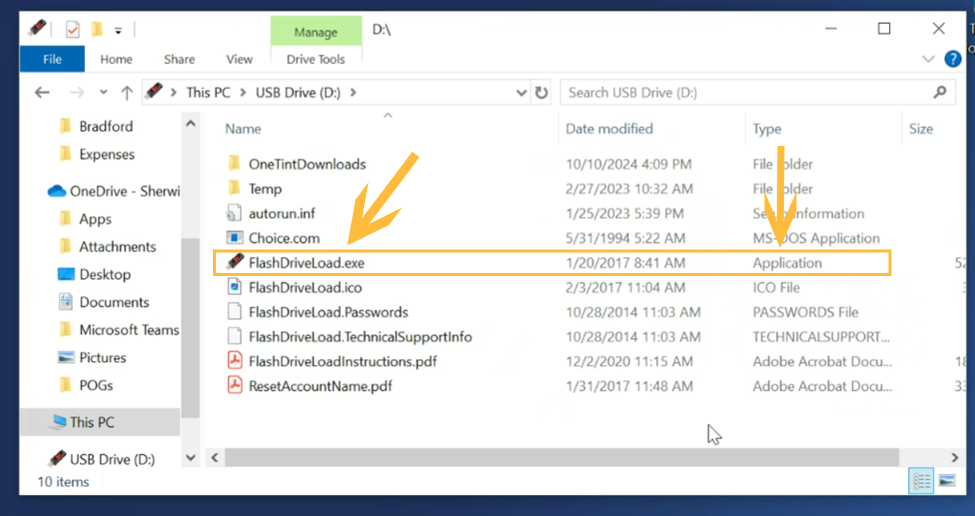
WARNING: The step below HAS TO BE DONE or else the update will not run correctly and cause errors.
Right Clickon theFlashDriveLoadfile, selectRun as Administrator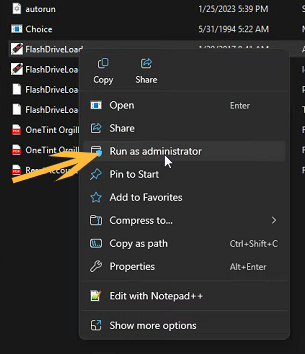
A
User Account Controlbox may appear asking to allow the app to make changes to the computer, selectYes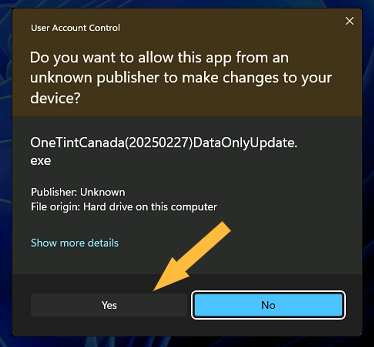
A
file extraction windowwill appear, wait until it’s finished..png)
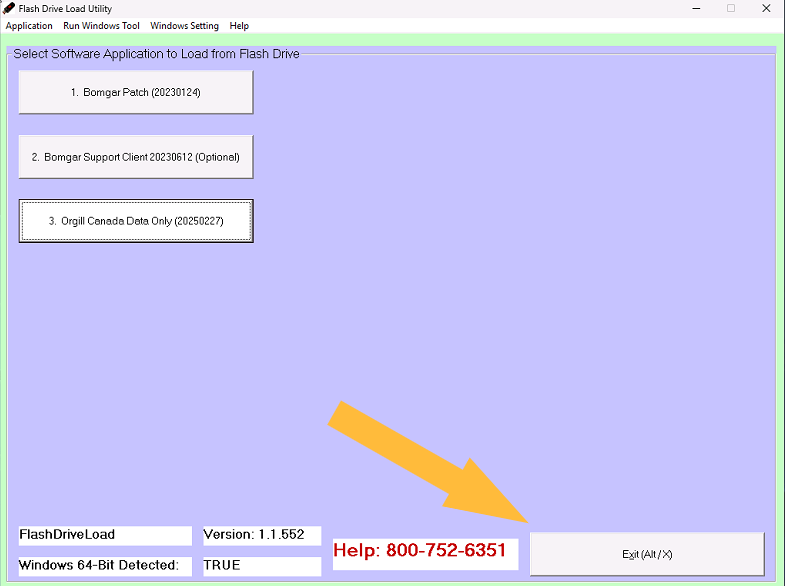
A menu will display once the file extraction from above is complete. Locate the menu item labeled with a
store type, Data Only and a dateat the end. Your store type and date will be different from these examples, make sure to select on the menu item that hasData Onlyin the label.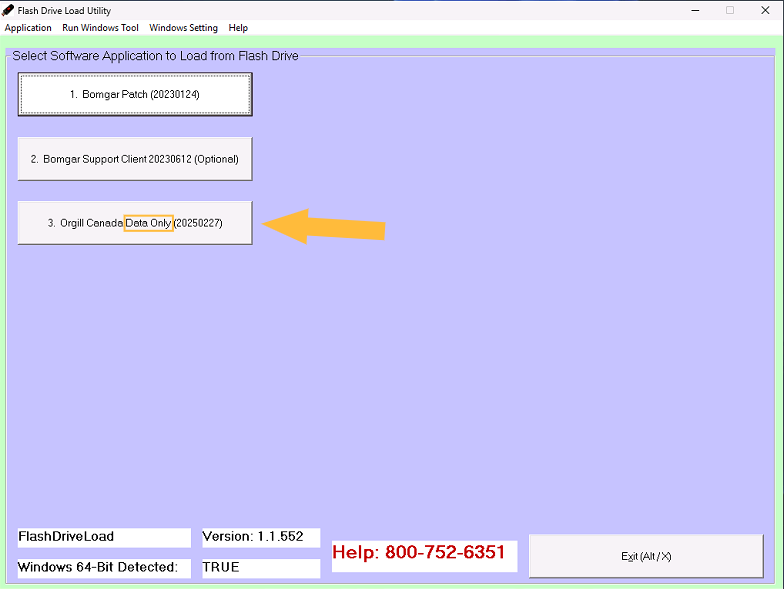
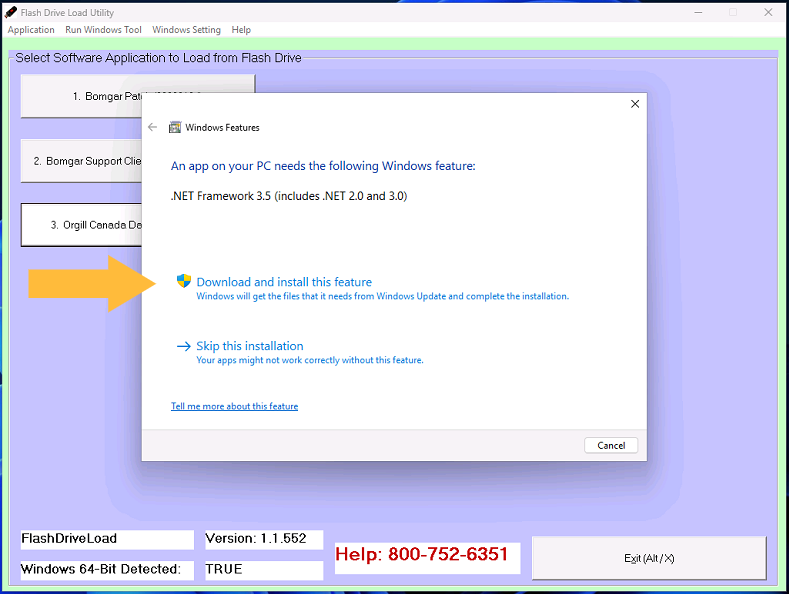
If the computer is missing the required
Windows Feature, selectDownload and install this feature. This may take a long time, depending on the internet speed and your computer. Wait until Windows is finished with the installation.If the Windows Feature option did not show up, skip to Step 13.
.png)
Once finished, select
Close.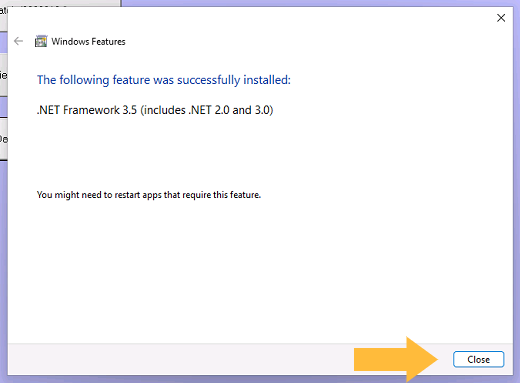
Select the Data Only update item again.
.png)
On the OneTint Update window, no interaction is need. The update process will automatically run and return back to the
menu windowwhen completed..png)
Once the updated is completed, select Exit.
The update process is now complete.