- 05 Aug 2024
- 3 Minutes to read
- Print
- DarkLight
- PDF
Matchrite / X-Rite RM400
- Updated on 05 Aug 2024
- 3 Minutes to read
- Print
- DarkLight
- PDF
RM400 INSTALLATION AND ONETINT CONFIGURATION
These steps are for new installations but also can be used to troubleshoot a missing
Spectro buttonor for communications error. The COM ports shown in the screen shots below are for example only. Use the COM ports shown on your own personal computer. These steps can be used to troubleshoot the following models: MatchRite (RM400, CF57, CF57U, CFS57, CFS57U) - Datacolor (100, 110, 200, 200R)
If using a USB to Serial / COM adapter, do not plug it into the computer yet, if using a physical Serial / COM port on the computer, skip this step.
To check the available COM (Serial Ports) on the computer. Click the
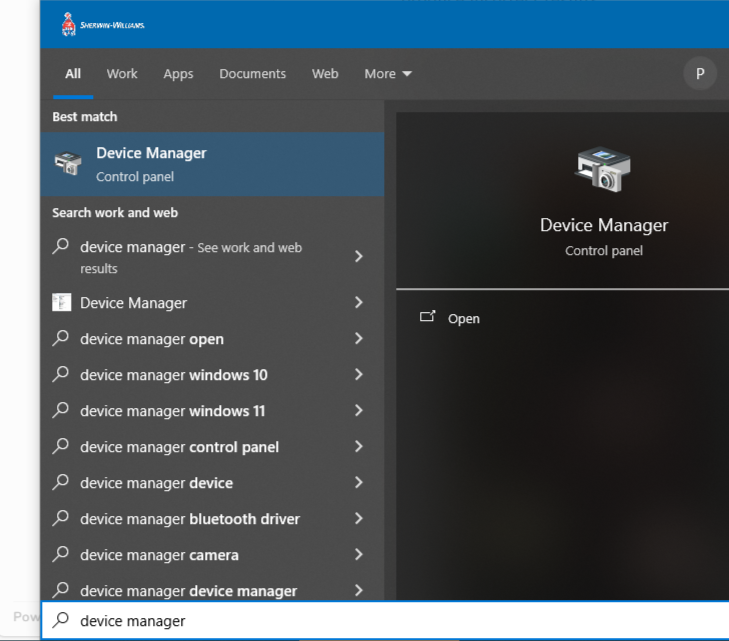
Windows Startbutton on the bottom left and start typingDevice Managerthen click on device Manager icon.
Scroll down to the item labeled
Ports (COM & LPT),double clickonPorts (COM & LPT)to expand the menu down to show all the Ports available.If using a physical Serial / COM built into the back of the computer, it will show up as
Communications Port (COM1), if there are multiple physical ports, it will showCommunications Port (COM2), etc.If using a USB to Serial adapter, make not on what new
COM Portshows up when plugging the adapter in, unplugging the adapter will remove the COM port, this can also be used to determine the correct COM port. Windows usually automatically installs the driver once the adapter is plugged in, if not, you will need to install any drivers that come with the adapter itself. The example below showsSUNIX COM Port (COM3) as the USB adapter that is plugged in.Make note to remember the COM port, it will be used later when configuring it in OneTint.
.png)
Start the OneTint application
At the
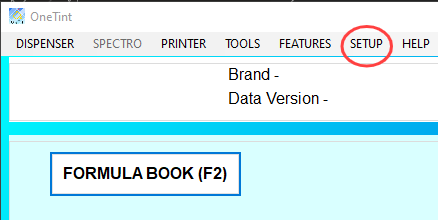
Main Menuof OneTint selectSETUPat the very top.
For the username select
Account X Repas the username and the password isConsumerthen click OK..png)
On the
Setup & Utilitiesmenu, selectSpectro..png)
On the
Setup - Spectromenu, selectSpectro Configuration..png)
Do the following steps in order (If using a different Spectro than the RM400 then select the correct Manufacturer and Model for your device):
For
ManufacturerselectMatchRiteFor
ModelSelectRM400Clickon the box to the left ofSpectro Activeto make sure it’s checked.For COM Port select the COM port noted from the steps above. If using a physical Serial / COM port and there are more than one ports, you have have to redo this step again and go down the list if one does not work.
.png)
Once the steps are complete, keep clicking the
BACK buttonuntil you’re at theMain Menuof OneTint.To make sure the Spectro is communicating, select the
SPECTRO buttonon theMain Menu..png)
In the
Spectro Maintenance Optionsmenu, clickStart Spectro, OneTint will attempt to communicate and establish connections. If communication is successful, it’ll either prompt to do aCalibrationor it’ll return to theSpectro Maintenance Optionsmenu with the other menu options being clickable whileStart Spectrowill be grayed out and clickable. If its having issues connecting, see the troubleshooting steps below..png)
If communications fail it will throw an error, start at STEP 6 again to get into setup and in STEP 10, try a different COM port, it may be a little trial and error to get the right COM Port.
If you’ve repeated all the steps and selected each COM port and are still getting an error trying to start the Spectro, do the following: (These troubleshooting steps can also be used for other Spectro devices and are the standard trouble shooting steps used by OneTint technicians.)
Completely unplug the power from the device, leave it unplugged, make sure any lights on the device are now fully off, if it’s on that means power has not been unplugged.
Shut Down OneTint and reboot the computer.
While the computer is rebooting, plug power back into the Spectro
Start at
STEP 6and select the right COM port inSTEP 10.
