- 05 Aug 2024
- 3 Minutes to read
- Print
- DarkLight
- PDF
Datacolor 100 / 110 / 200
- Updated on 05 Aug 2024
- 3 Minutes to read
- Print
- DarkLight
- PDF
DATACOLOR 100/110/200 ONETINT CONFIGURATION
Required: Must have calibration files that comes with the unit. These are specific to the unit; no other files can be used, or all color matches produce incorrect results. These files are on some type of disk in the drawer of the machine.
SECTION 1: PREPPING THE DATACOLOR FILES
The unit will have a drawer, the calibration files could be on a mini cd, a USB flash drive or a 3.5“floppy disk. In some cases, some units come with multiple mini cd’s, USB flash drives or 3.5” floppy disks, go through each one and locate the files below.
.png)
Insert the media into the computer, in
Windows File Explorer, locate the following files, all three files are REQUIRED:.png)
WHITESE.DATWHITESI.DATA file ending with
.GLS, in most cases the file will be in this format,R_xxxx.GLS, the x’s indicating the serial number found on the back of the Datacolor unit. In other cases, the file will either be aDF100.GLS,DF110.GLSorDC200.GLSas long as the file ends in.GLS, that is the correct file needed.
In
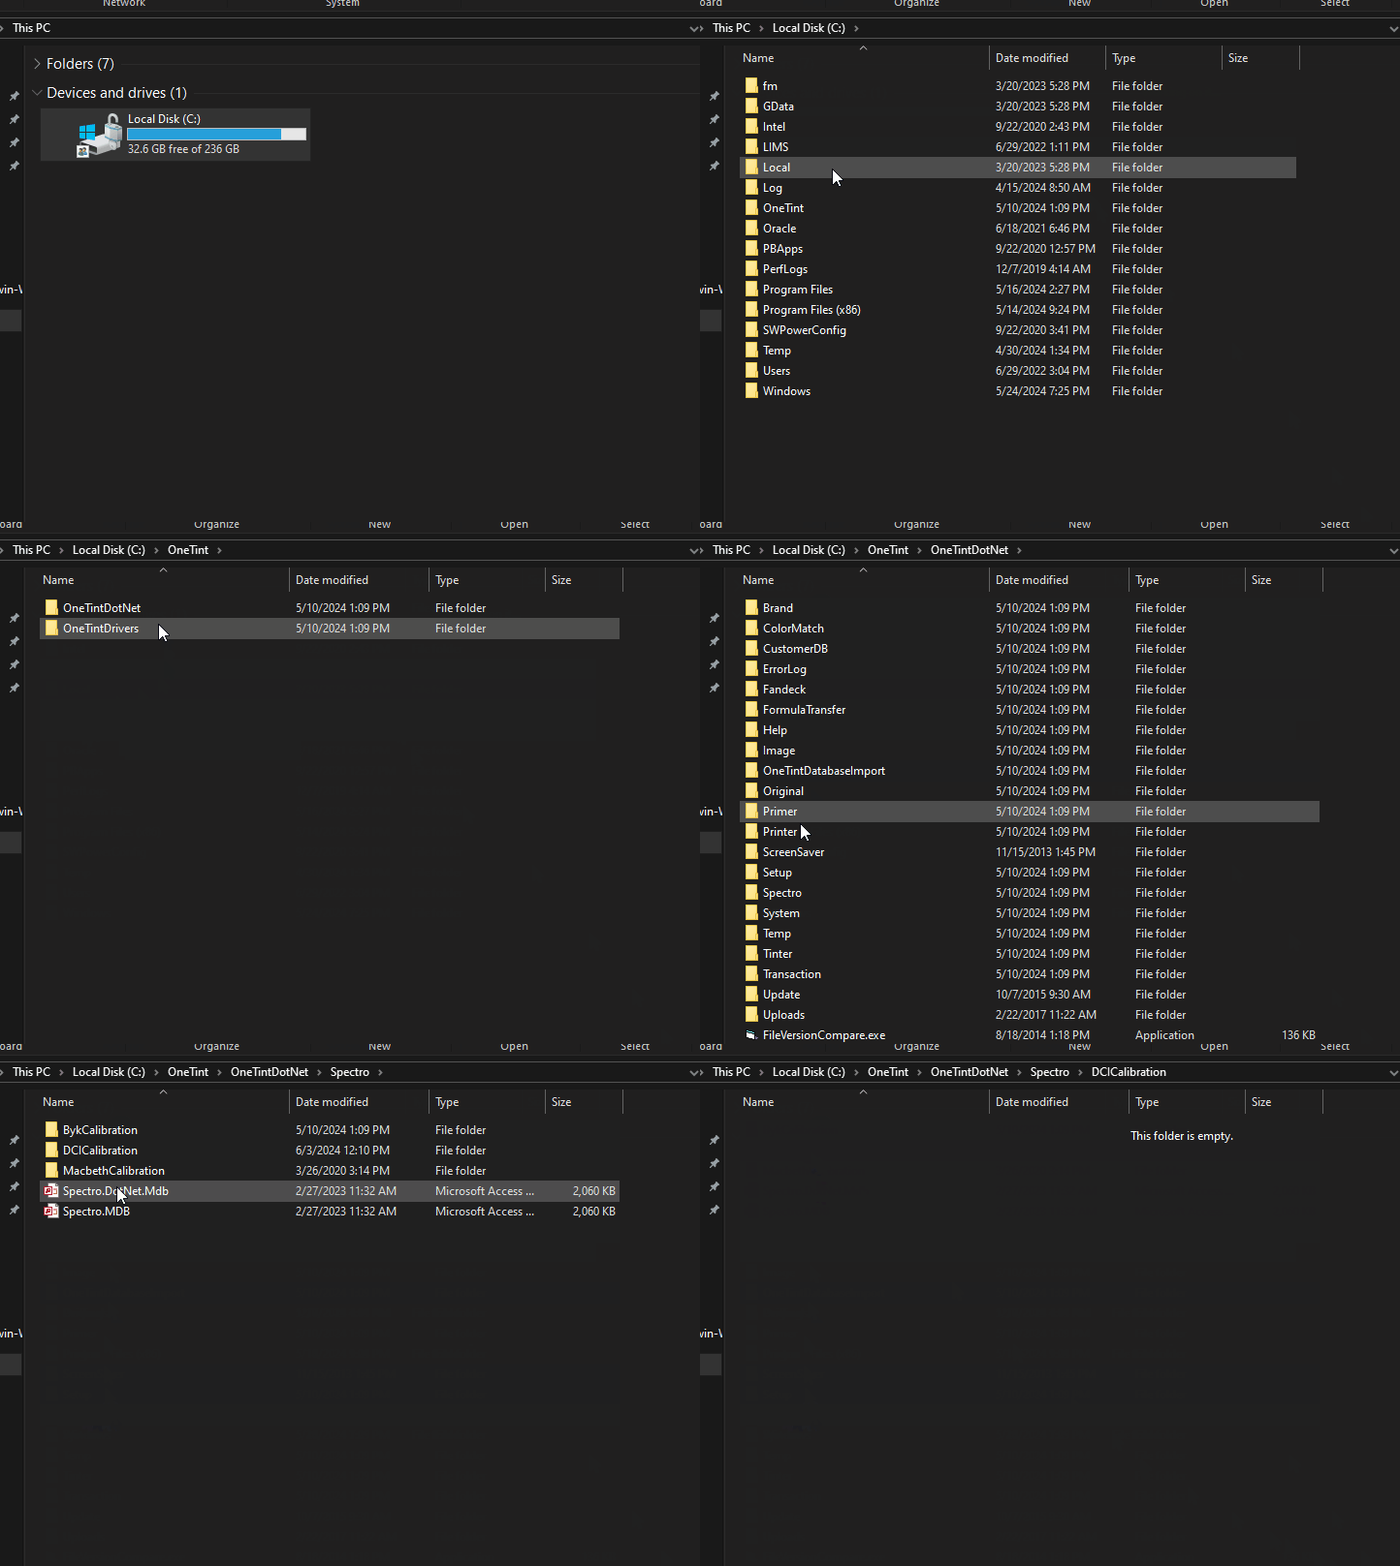
Windows File Explorer, navigate to this folderC:\OneTint\OneTintDotNet\Spectro\DCICalibration
Locate the serial number on the back of the Datacolor unit for an example we will use serial number
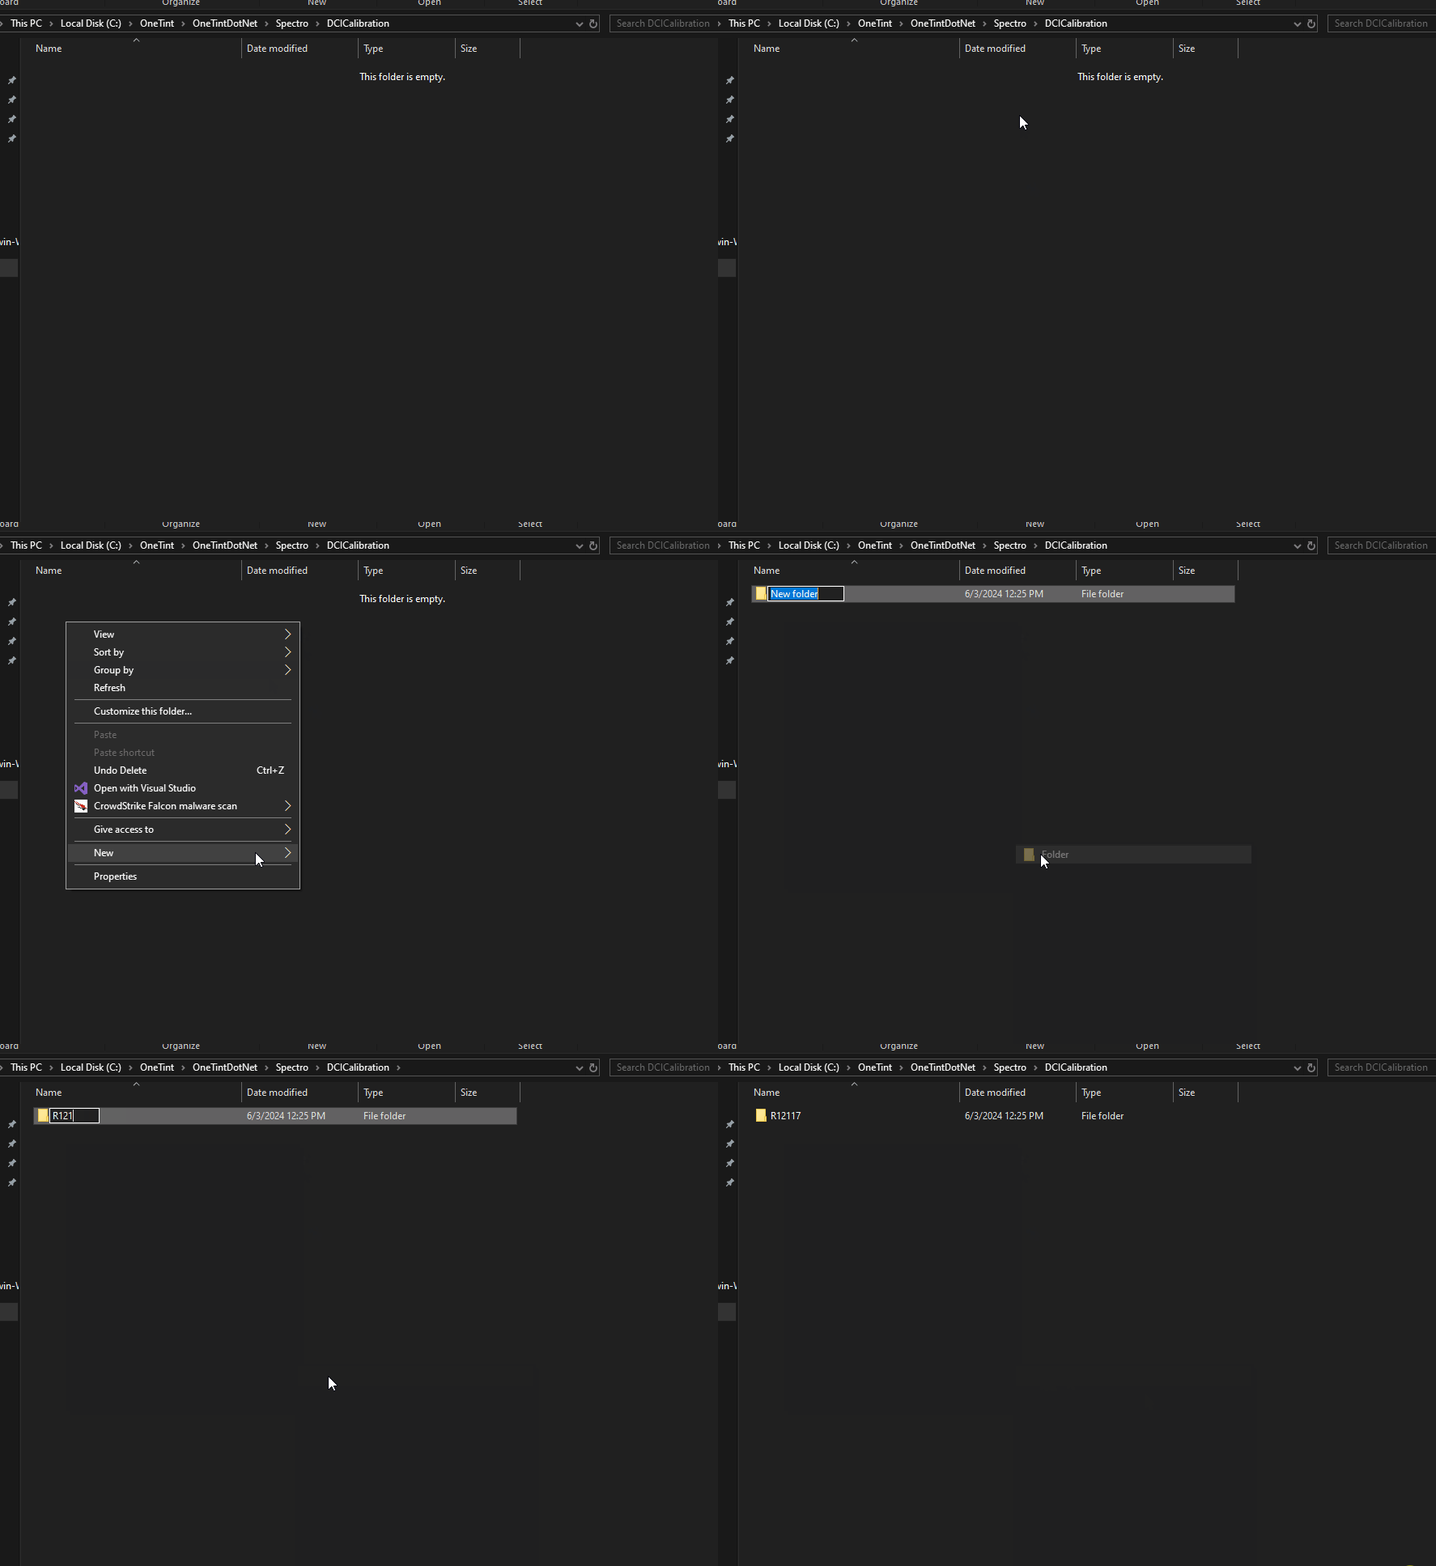
12117, remember to use your specific serial number.Within the
DCICalibrationfolder,right clickon a white / blank spot and select create aNew Folderwith the folder highlighted rename the folder toR12117, remember the numbers after the R will be the serial number off of the back of your unit.
Double clickthe newly created folder to navigate into it.Copy the calibration files found in
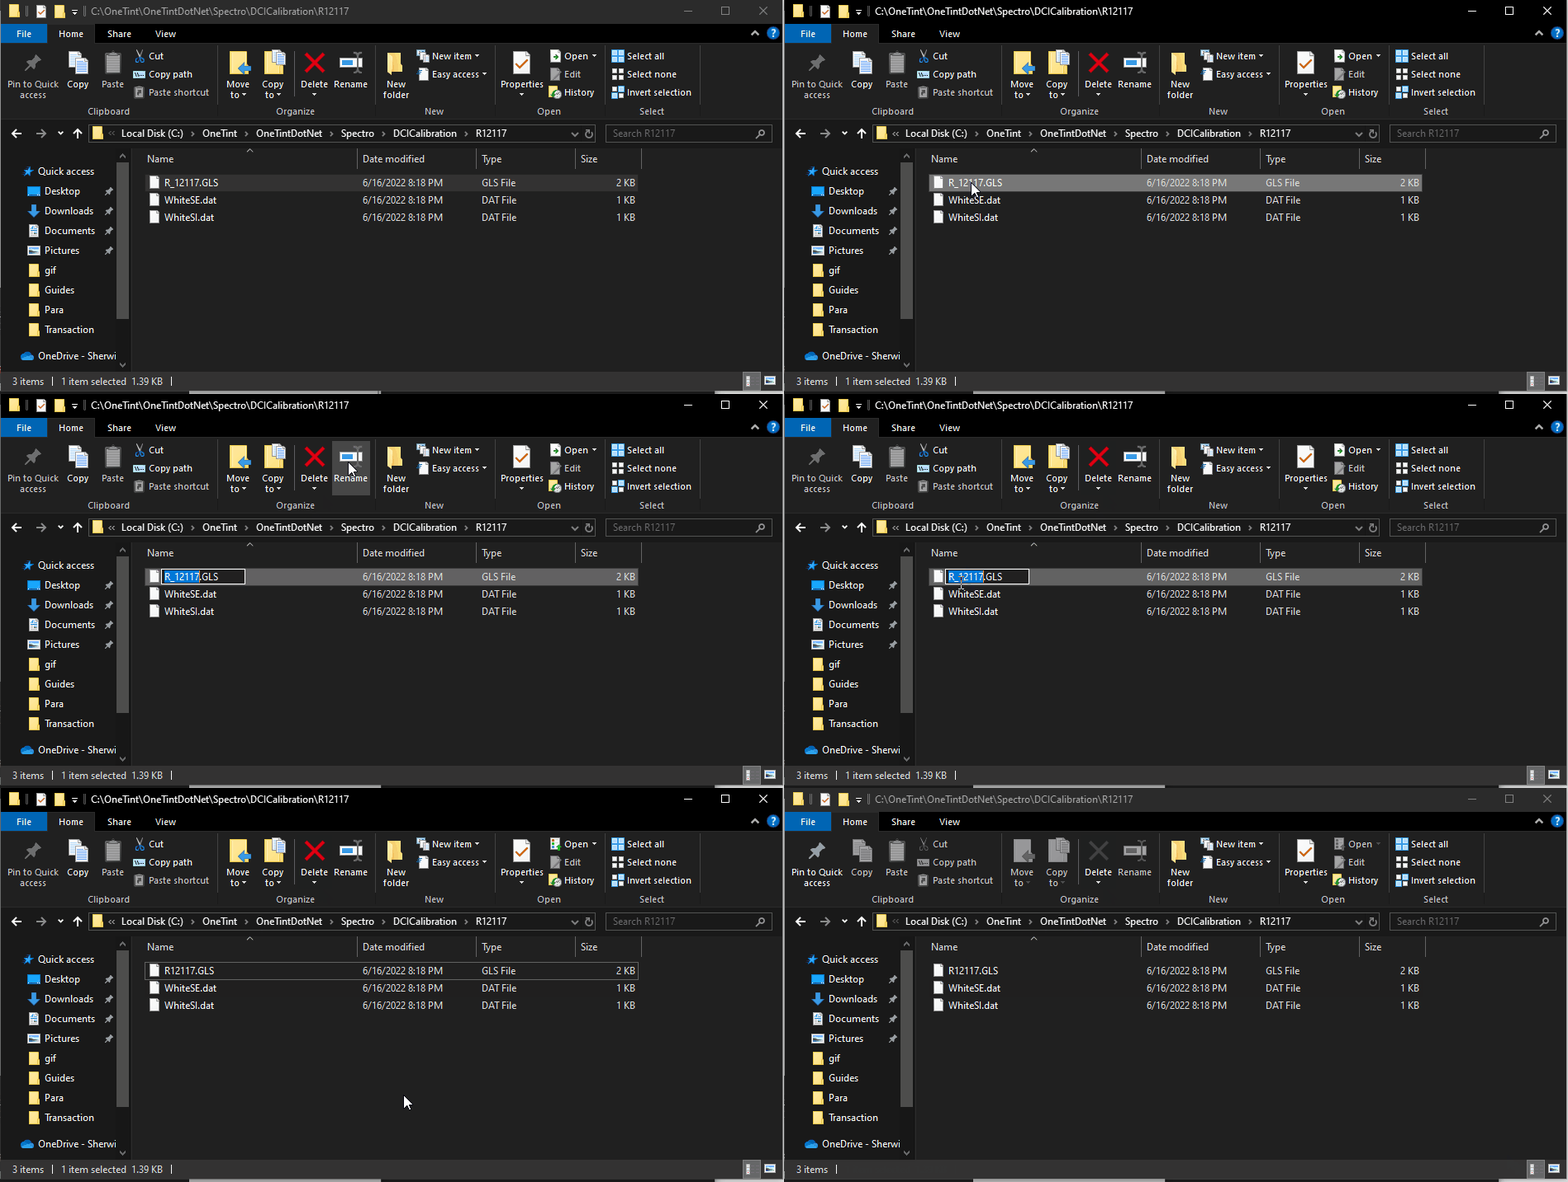
Step 2and paste them into this folder.Rename the
.GLSfile(remember there are different file name variations)toR12117.GLS, notice the original file wasR_12117.GLSand renamed toR12117.GLS. Remember to use your own serial number found on the back of the unit.
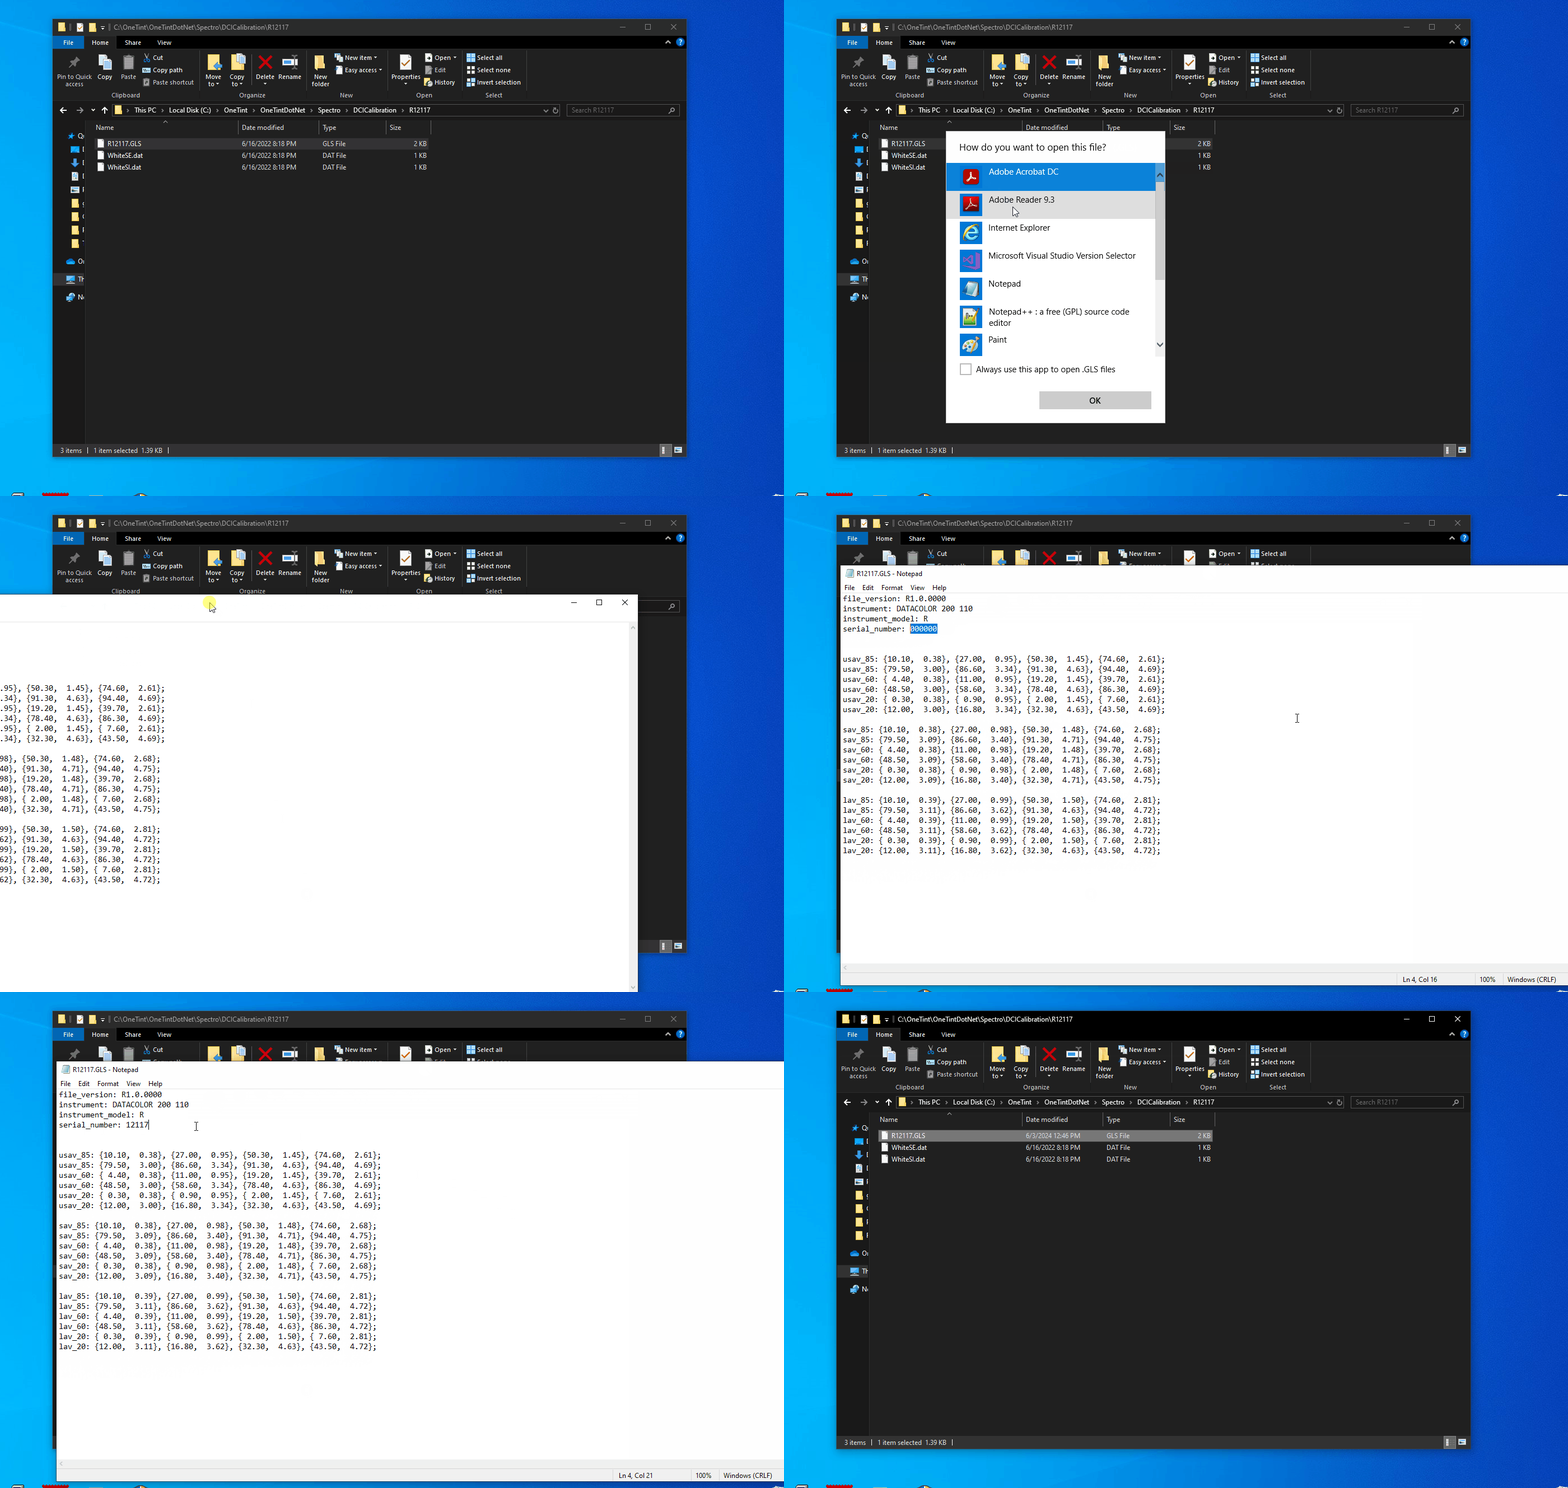
Edit the
R12117.GLSfile byright clickingon the file, selectOpen Withand selectNotepad. Locate the field namedserial_number:if the numbers are all 0’s (zeros), replace the 0’s with the serial number of your machine. Save then close the file.
Preparations of the Datacolor files are complete. Continue onto
SECTION 2: ONETINT CONFIGURATION
SECTION 2: ONETINT CONFIGURATION
Before continuing, make sure the device is plugged into the computer and powered on.
Determine what port the Datacolor device is connected to by opening
Device Manager.png)
Make notes of the ports under the
Ports (COM & LPT)submenu. COM ports are not very descriptive, so make note of the number at the end. Some computers have more than oneCOMport, so it’ll be a trial and error to see which is the correct one.Start the OneTint program
Once OneTint is started, on the
Main MenuselectSETUPon the top.For
User NameselectAccount X RepFor
Passwordenterconsumerthen clickOKIn the
Setup Optionmenu, selectSpectro.png)
In the
Spectro OptionsselectSpectro Configurations.png)
In the
Spectro Configurationmenu, do the following in order.Manufacturer: DatacolorModel: Data Flash 100 / Data Flash 110 / DC 200- Pick the correct model of your device.ClicktheSpectro ActiveboxGo up to
COM Port:and select one of the COM Ports noted inStep 1..png)
Once settings are set, keep clicking
BACKuntil theMain Menu.At the
Main Menu, selectSPECTRO..png)
In the
Spectro Maintenance Menu, this step will only have to be done ONCE.Select
General UtilitiesSelect
Calibration DataTo the right of
Instrument Serial #,Clickthe drop down menu.Select the serial number of your unit.
.png)
Click
BACKtwice until theSpectro Maintenance Menu.Select
Start Spectro.png)
If OneTint can properly communicate with the unit, a
Spectro Calibration Menuwill appear, selectYesand follow the on-screen prompts..png)
If OneTint gives a
communications error, go back toStep 9and select the next availableCOM PORT, then try again with theStart Spectro. This may need to be repeated until the correctCOM PORTis selected. If allCOM PORTShave been selected and none worked, make sure to check the cabling and power.
After a successful connection is established and a calibration performed with no errors, the Datacolor 100 / 110 / 200 setup is complete.
